Showing posts with label house. Show all posts

Wednesday, March 28, 2012

My flowers...

are slow!
I took several pictures to show you how my snowball bushes are coming in, my peonies are growing back, and my newly planted hydrangea (already bloomed) look.  Ignore the fact that I need new mulch....


Iv'e been patiently waiting and watching as the flower buds form on my snowball bush


Still Green!

 See the red popping up? These are the peonies!


 And last weekend my dad sent me home with this gorgeous hydrangea! Thanks Dad!


Hydrangea bud

 Not sure what this is called, but its pink and pretty

.....and as I'm thinking about how pretty my front "yard" is going to look in a few weeks, and how I can't wait show it off, I drive over to Jon's apartment and see THIS at the entrance:


BAM!

Snowball bush.Right in my face.Rubbing it in.

The End.

Monday, January 23, 2012

I've been busy...

  With the help of my family, we threw a Baby Shower for my sis-in-law. It was so much fun to host it at my house!

It was in the afternoon so we served bite sized foods. I made Chicken Salad sandwiches, Pimento Cheese sandwiches, and Cake Pops. I ordered a Fruit and Veggie Tray from Publix. We also served Champagne punch, Champagne-free punch, soda, and water.
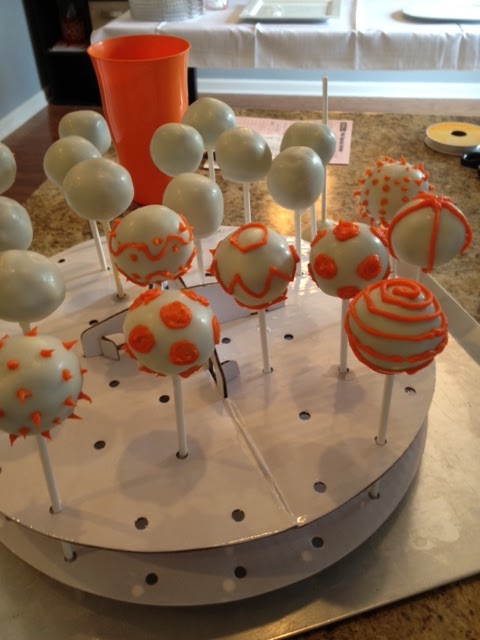

Cake Pops


Pom Pom Decorations (pop pop haha)


Punch table

Coat/Purse basket


Gift Table (pre-gifts)

I set the chairs out to direct the guests into the living room

Oh, what's that you ask? Did I make the cake pops? Why yes, I did! And since you asked, here's how!


STEP 1: Bake a cake. I made one White cake and one Devils Food. Let cakes cool overnight


STEP 2: Crumble up cake, put back in mixer. Then, roll a spoonful into a ball. Place balls in fridge for 30 minutes. Then stick a candy stick in the balls, place back in fridge for 30 minutes.

STEP 3: While balls are chilling in the fridge, melt chocolate. I used White Chocolate Candy Melts from Michaels and a Double Boiler to melt it.


STEP 4: Place pops in this nifty holder from Michaels

STEP 5: place in fridge overnight, then decorate!


I thought you'd never ask! Here's how I made the pom pom decorations...

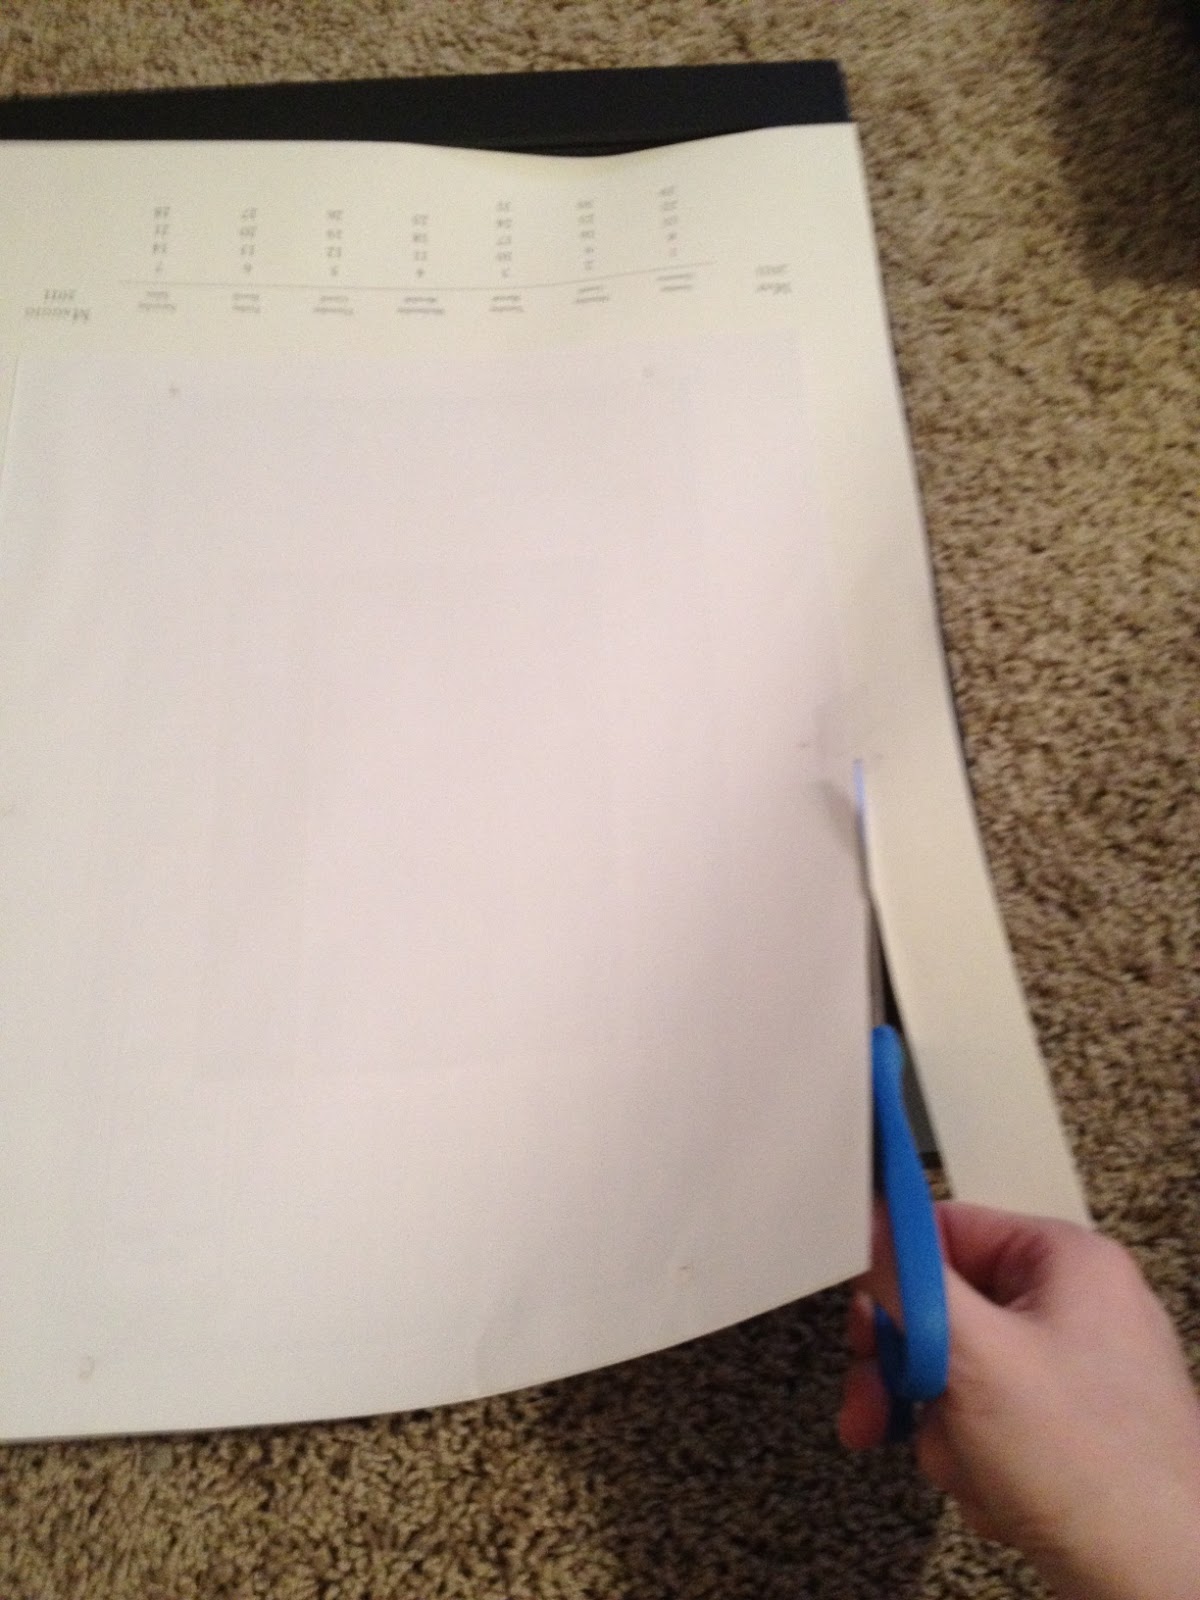
STEP 1: Place 8-10 sheets of tissue paper together. Fold into a Fan Fold


STEP 2: Wrap flower wire around center


STEP 3: Trim edges into a round shape

STEP 4: Pull apart one layer at a time


That's All!


No, wait! I have to show you one more thing...

Totally unrelated. I added some old curtains I used in college to my laundry "area".

Wednesday, January 11, 2012

Bedroom Decor

Ever since moving in last April there has been an endless list of things to do/fix/replace. I kind of threw everything into one corner of my room and the rest into the spare room. I finally took the time to put up my shelves that I had above my bed in my last apartment, only to realize they dont look so great in my new room! So, 4 months later I bought some picture frames to hang on either side of the bed. It was a slow but sure process that you can see in these pictures:

First I hung them, I couldn't decide if I wanted to put the 5x7 or 8x11 pictures inside

Then I decided I would re-use some pictures from a Calendar that I've kept for 4 years!

Final product!


Glad I kept them!